Design an email banner
Create an email banner design, including dynamic product information and contact propertiesTable of Contents
Creating a new email banner designAdding email recipient informationA Confect email banner is a powerful way to provide dynamic, personalized content in your emails. It allows you to create banners that will change based on rules you set up, unlocking many new possibilities.
This article will show you how to create email banners and set up the different use-cases in Confect.
This feature is only available per request, so if you'd like to try out email banners, contact us via live chat.
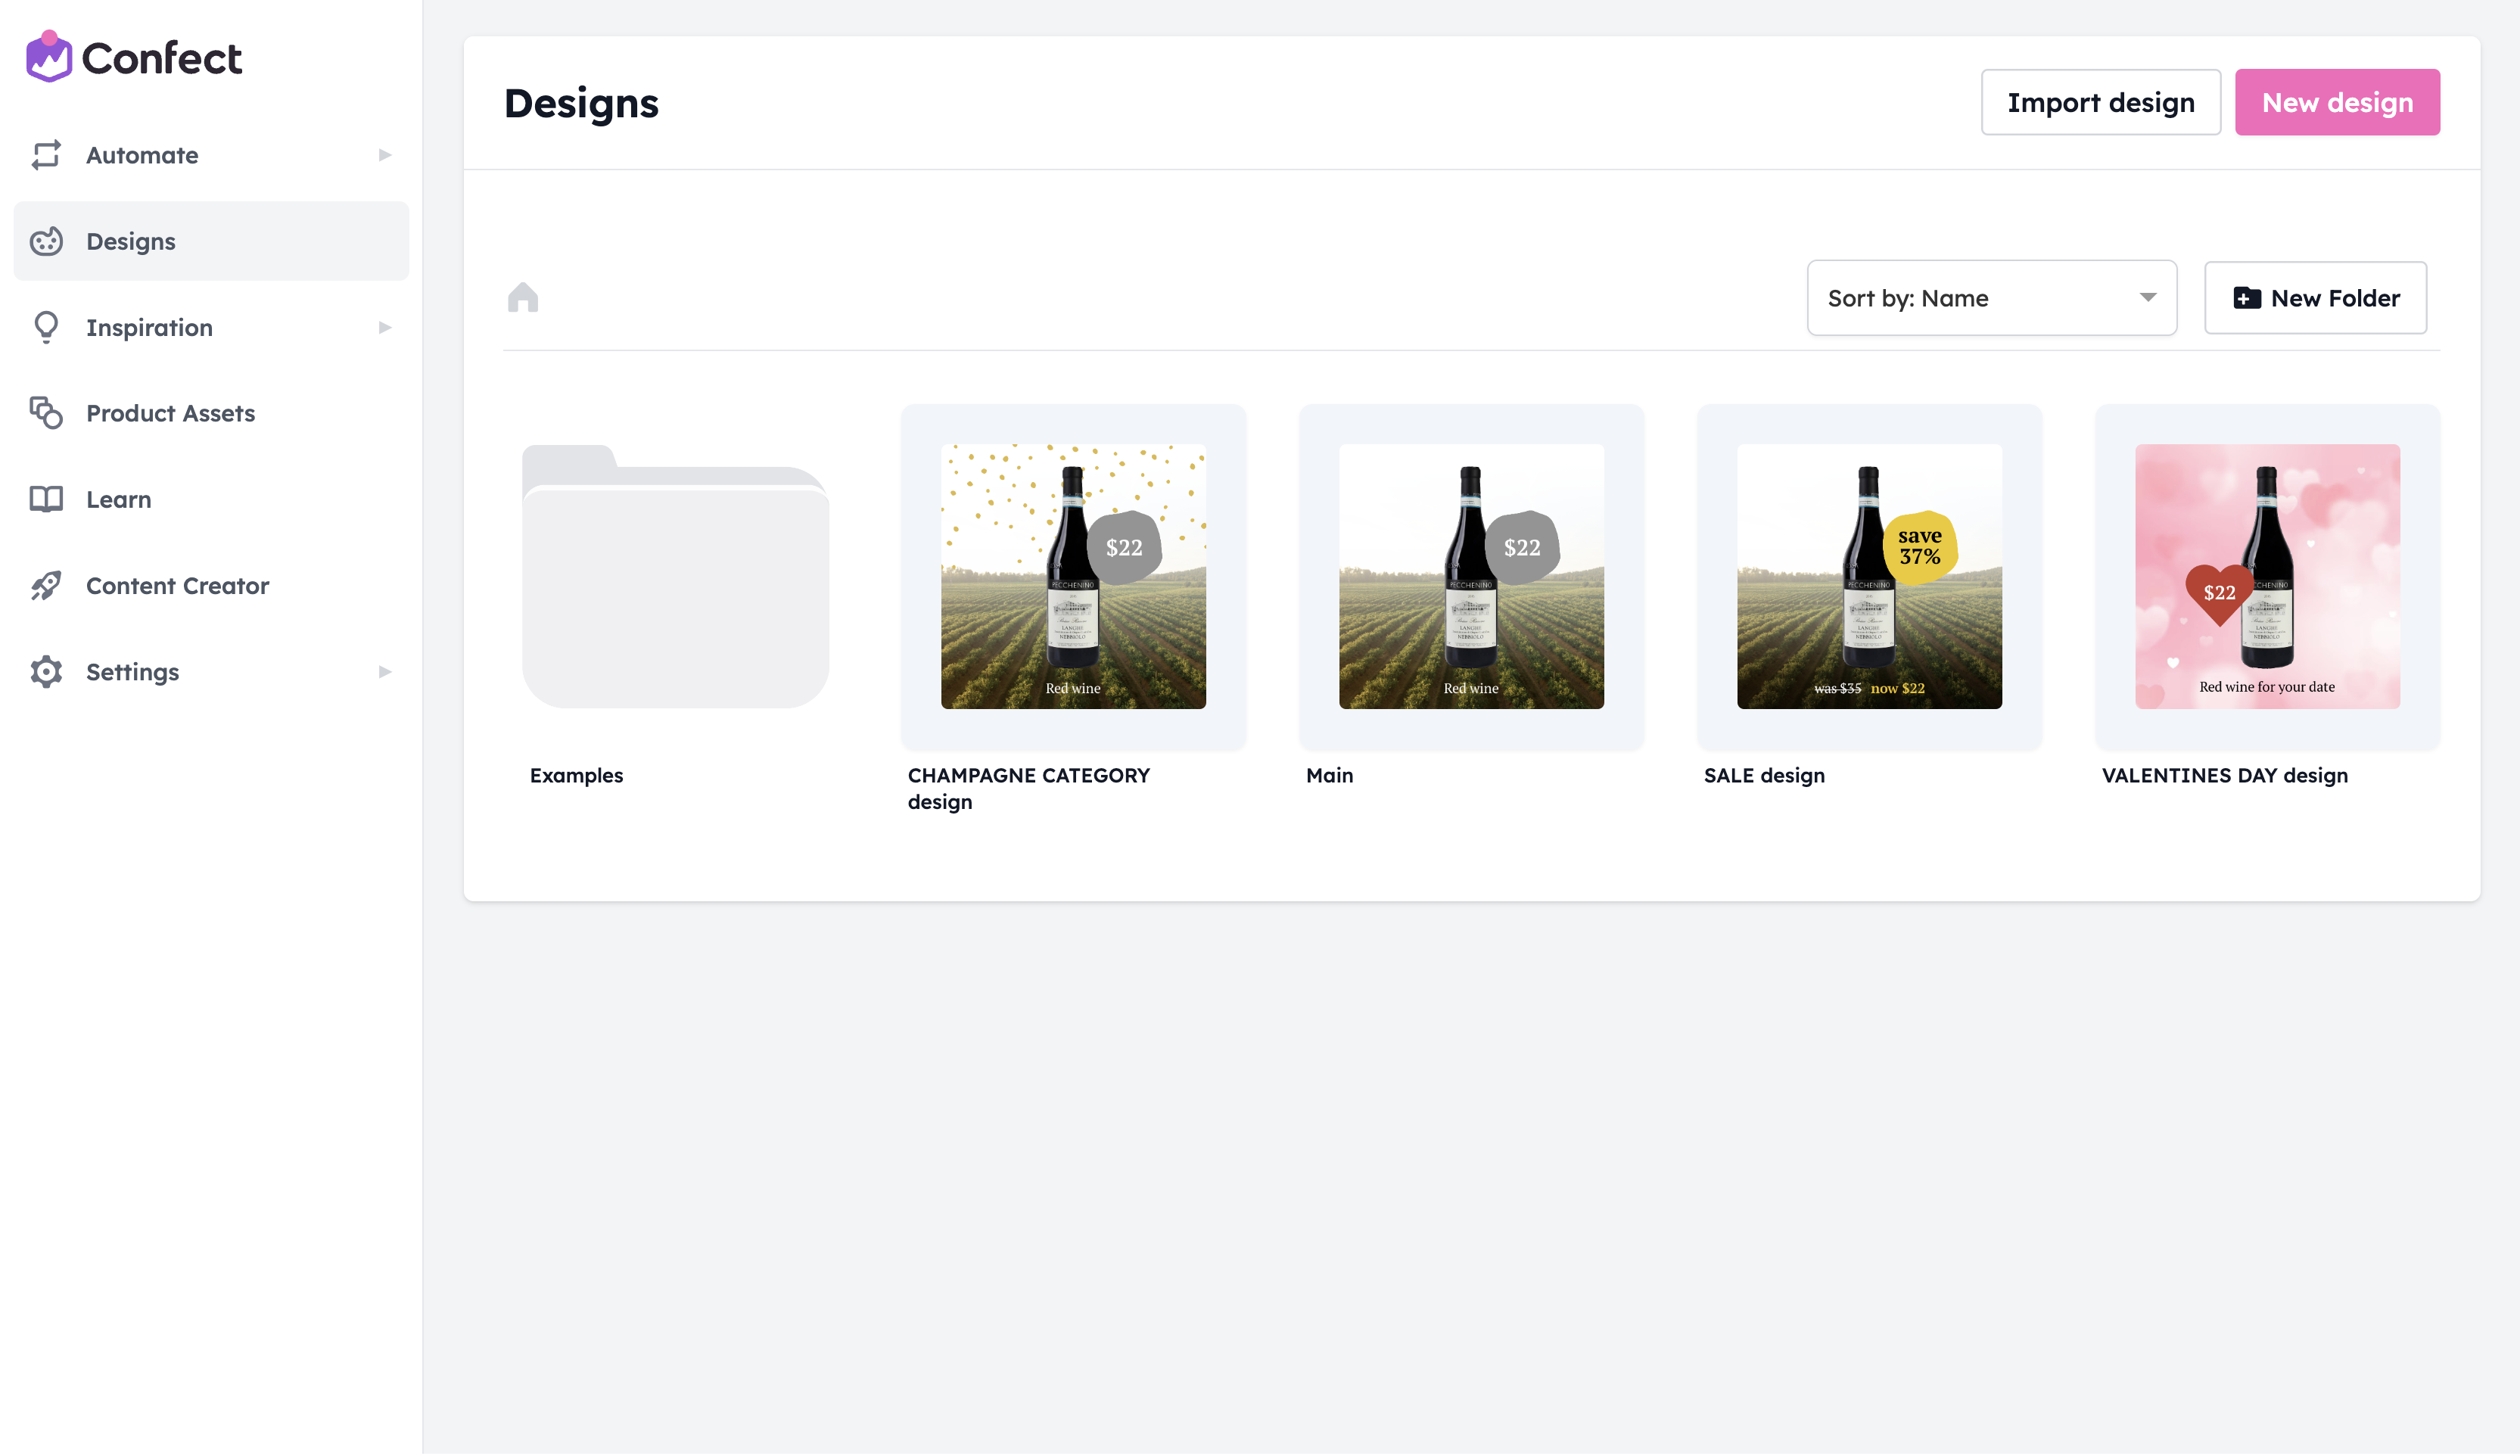
Creating a new email banner design
Similar to creating a catalog, you must first create a design template in the “Design” tab inside Confect.
Simply click on “New design” in the top right corner, and then “Start from a blank template”, again in the top right.
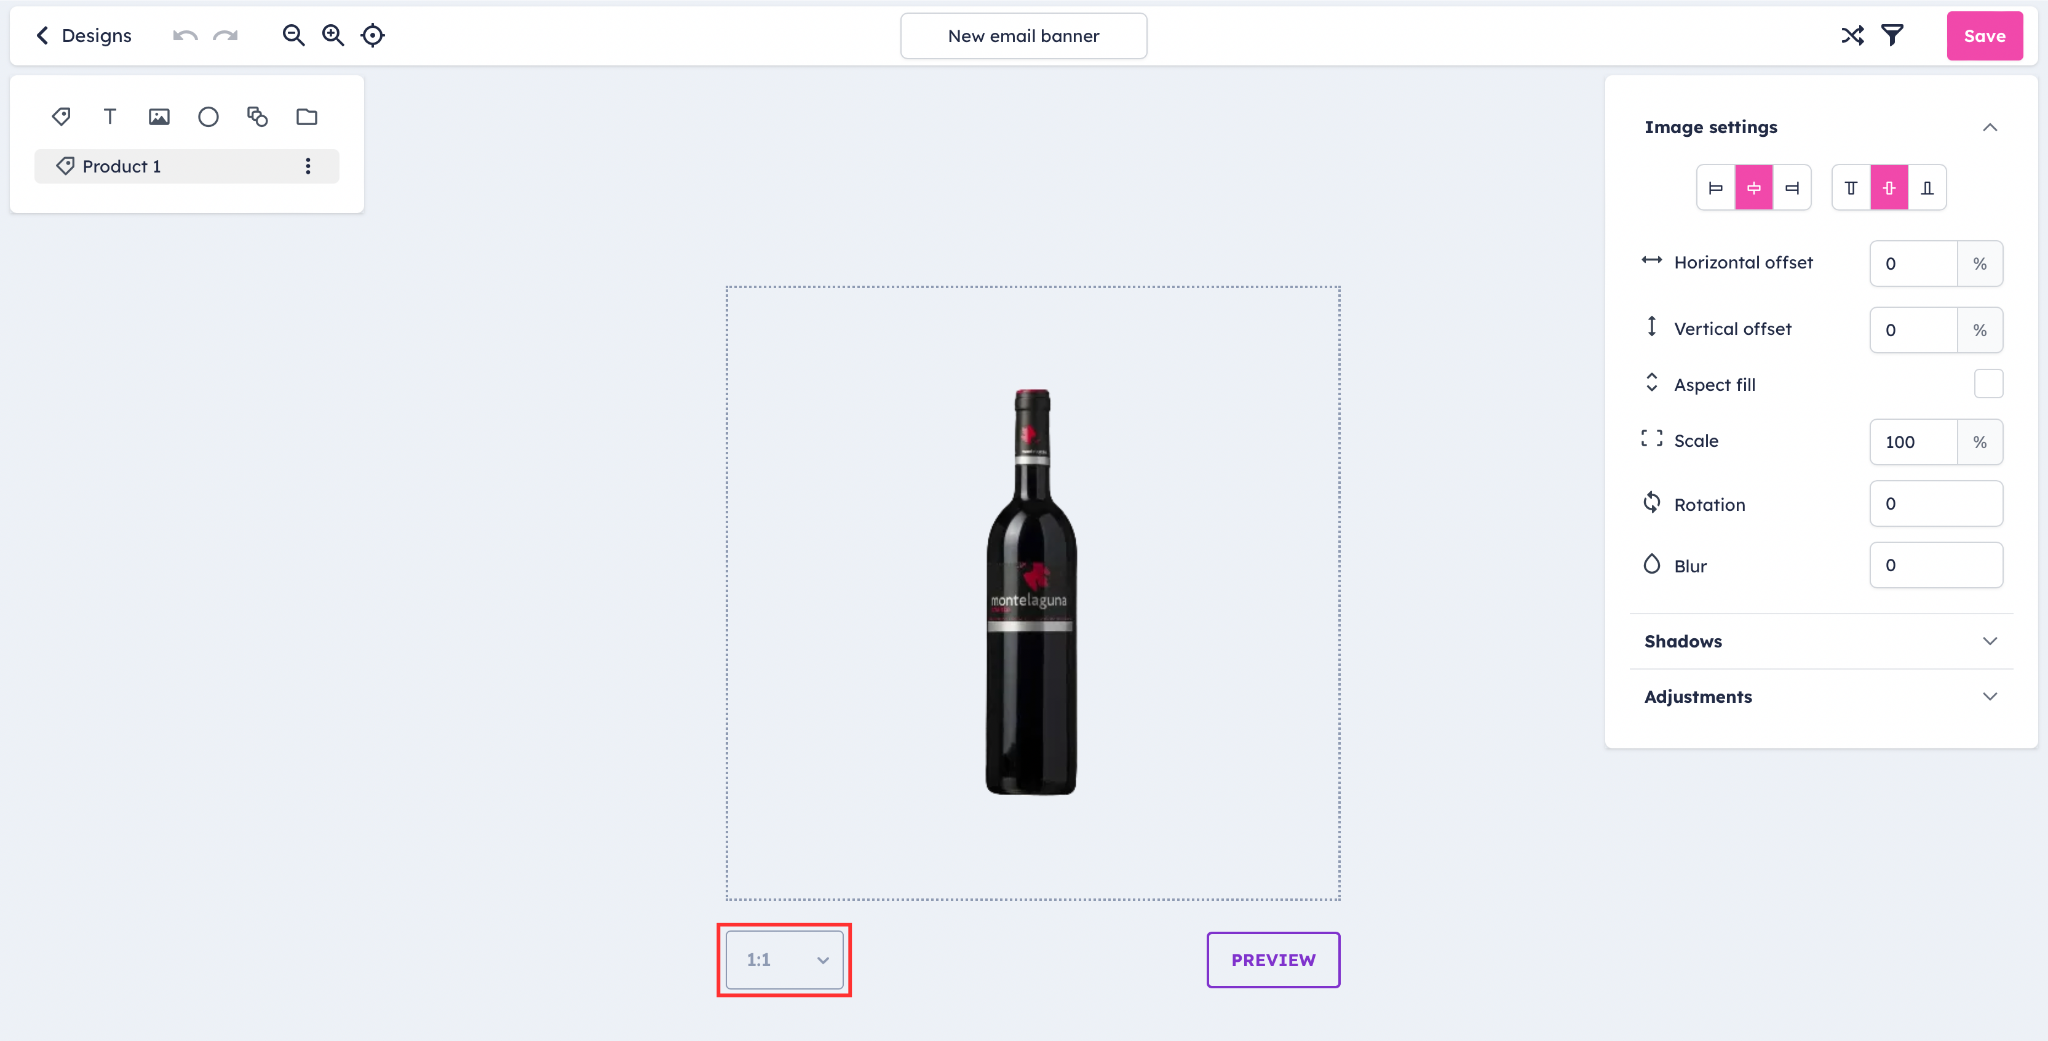
By default, your new design will be in the 1:1 aspect ratio (square). If you’d like to change this to a horizontal or vertical banner, you can do this by clicking on the dropdown box below the left side of the canvas.
You can choose from standard aspect ratio options, or create a custom size.
When creating a custom size email banner, it’s recommended to not exceed 1.000px in either direction, as images that are too large will load slowly and negatively impact user experience (however, this is not a concrete rule, just make sure to test the loading speed of your banner).
You can now add backgrounds, shapes, manual or dynamic text, the same way as you would for a product feed design.
Refer to Creating your first design, Working with elements and layers, and other Design articles, if you’re in doubt about how to put together a design.
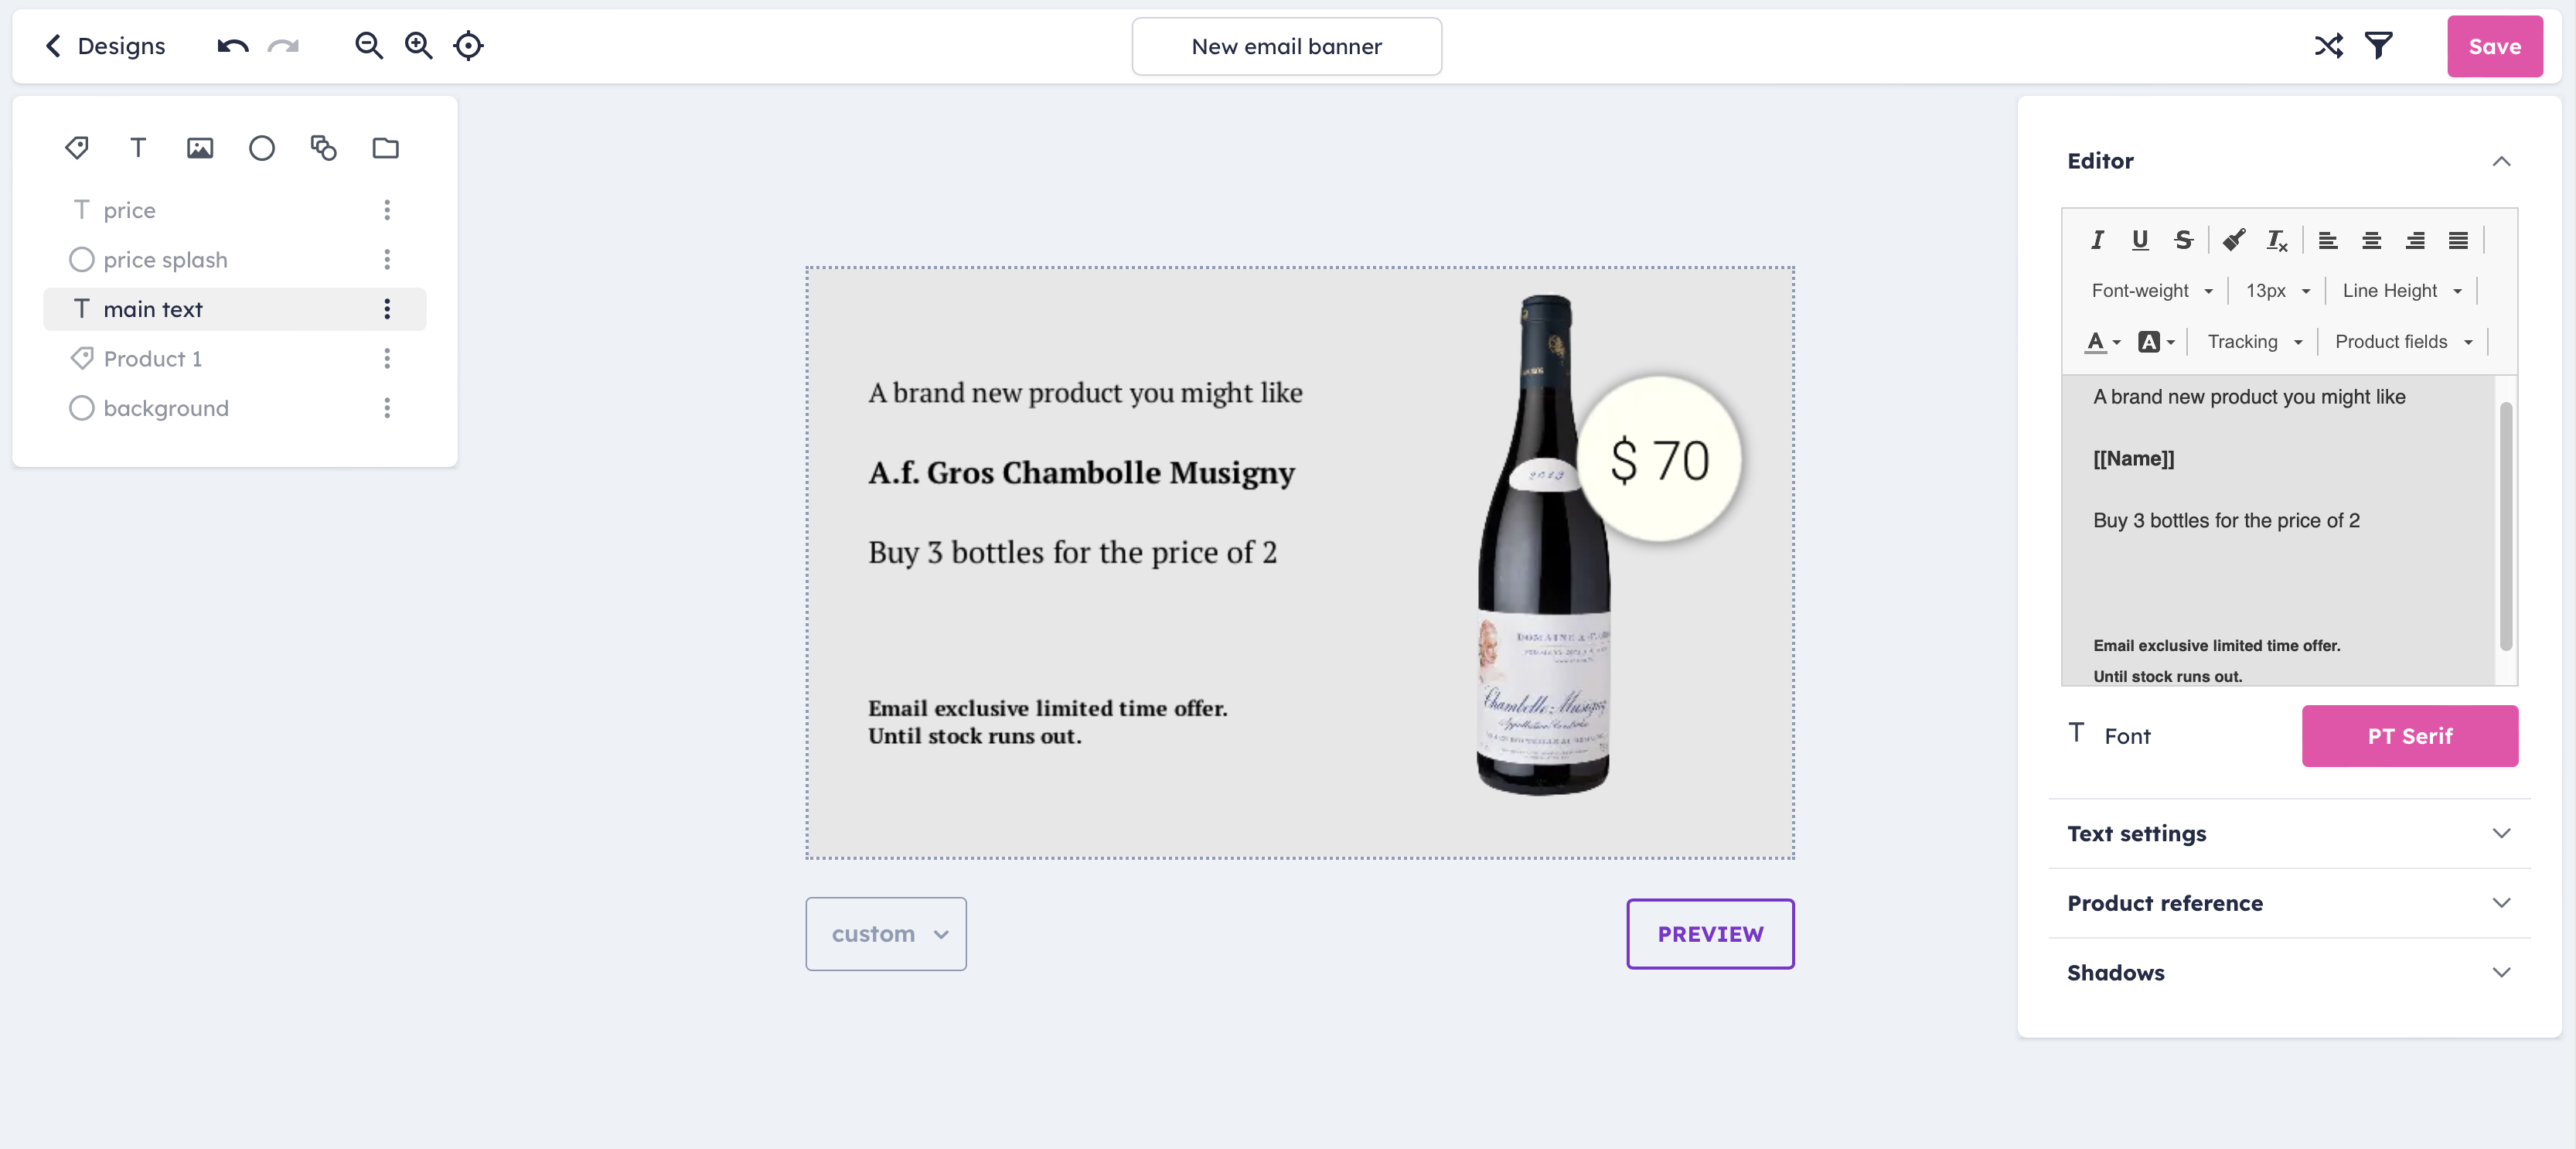
Adding email recipient information
Confect email banners also allow you to use the contact data inside your email software directly in the design itself. For example, including the first name in the design.
This is done through creating a text placeholder in the text layer (“key”).
This “key” can be named however you wish, enclosed in a double curly bracket. For example: {{firstName}}.
This can be any information your email software stores about the recipient.
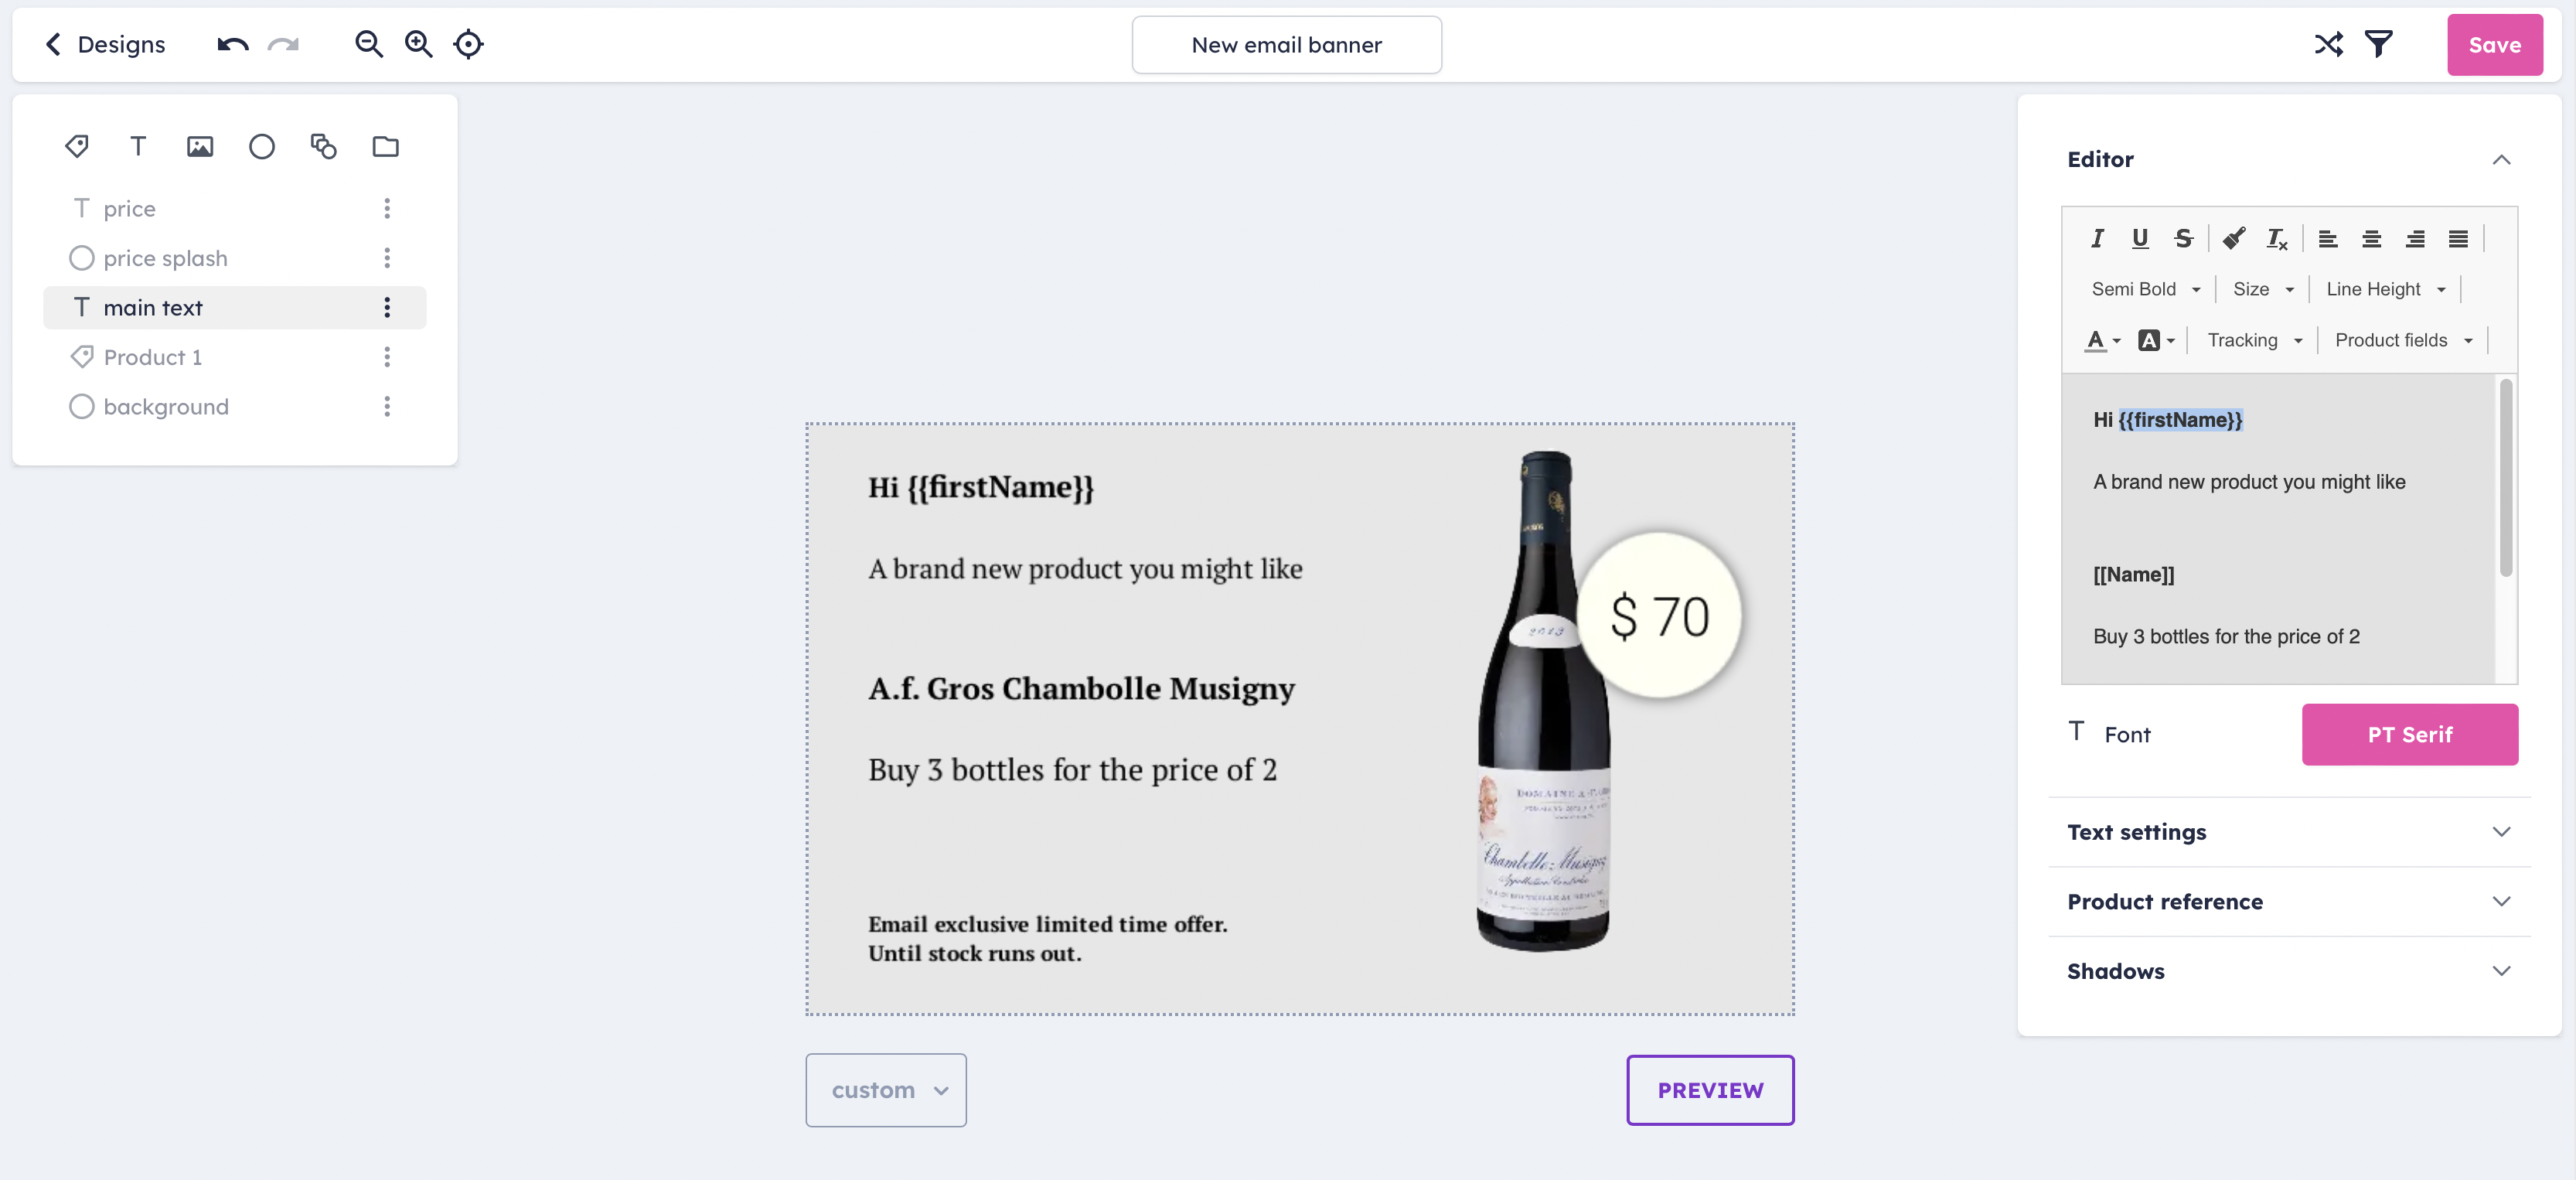
Finally, save the design by clicking “Save” in the top right corner.
The next step will be to create an email banner automation.